5 Mistakes to Avoid With Gate Parts & Welding
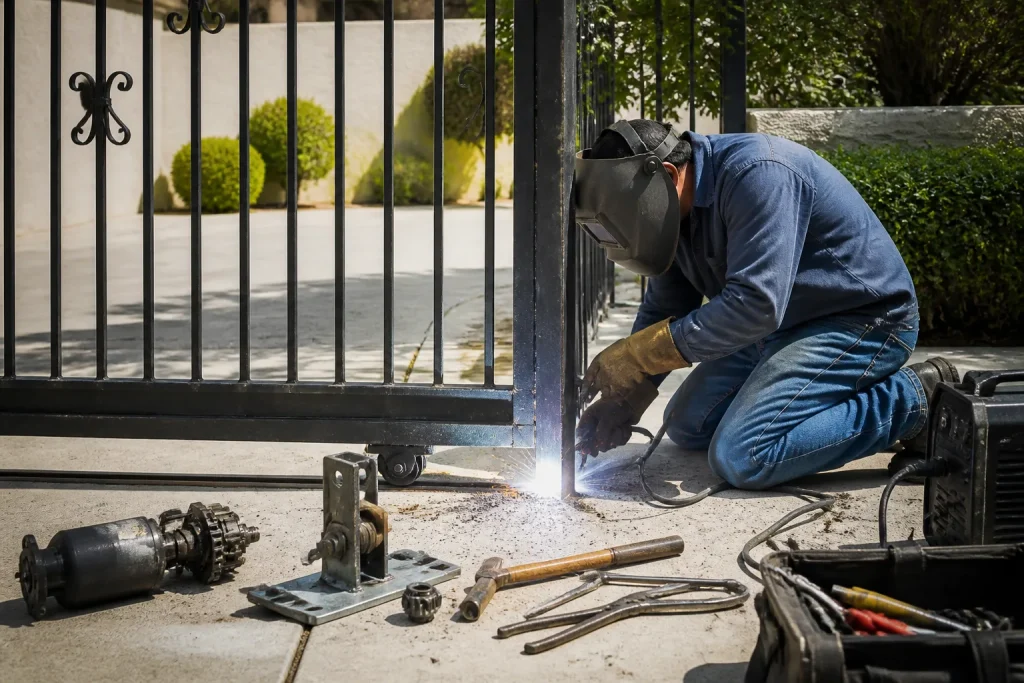
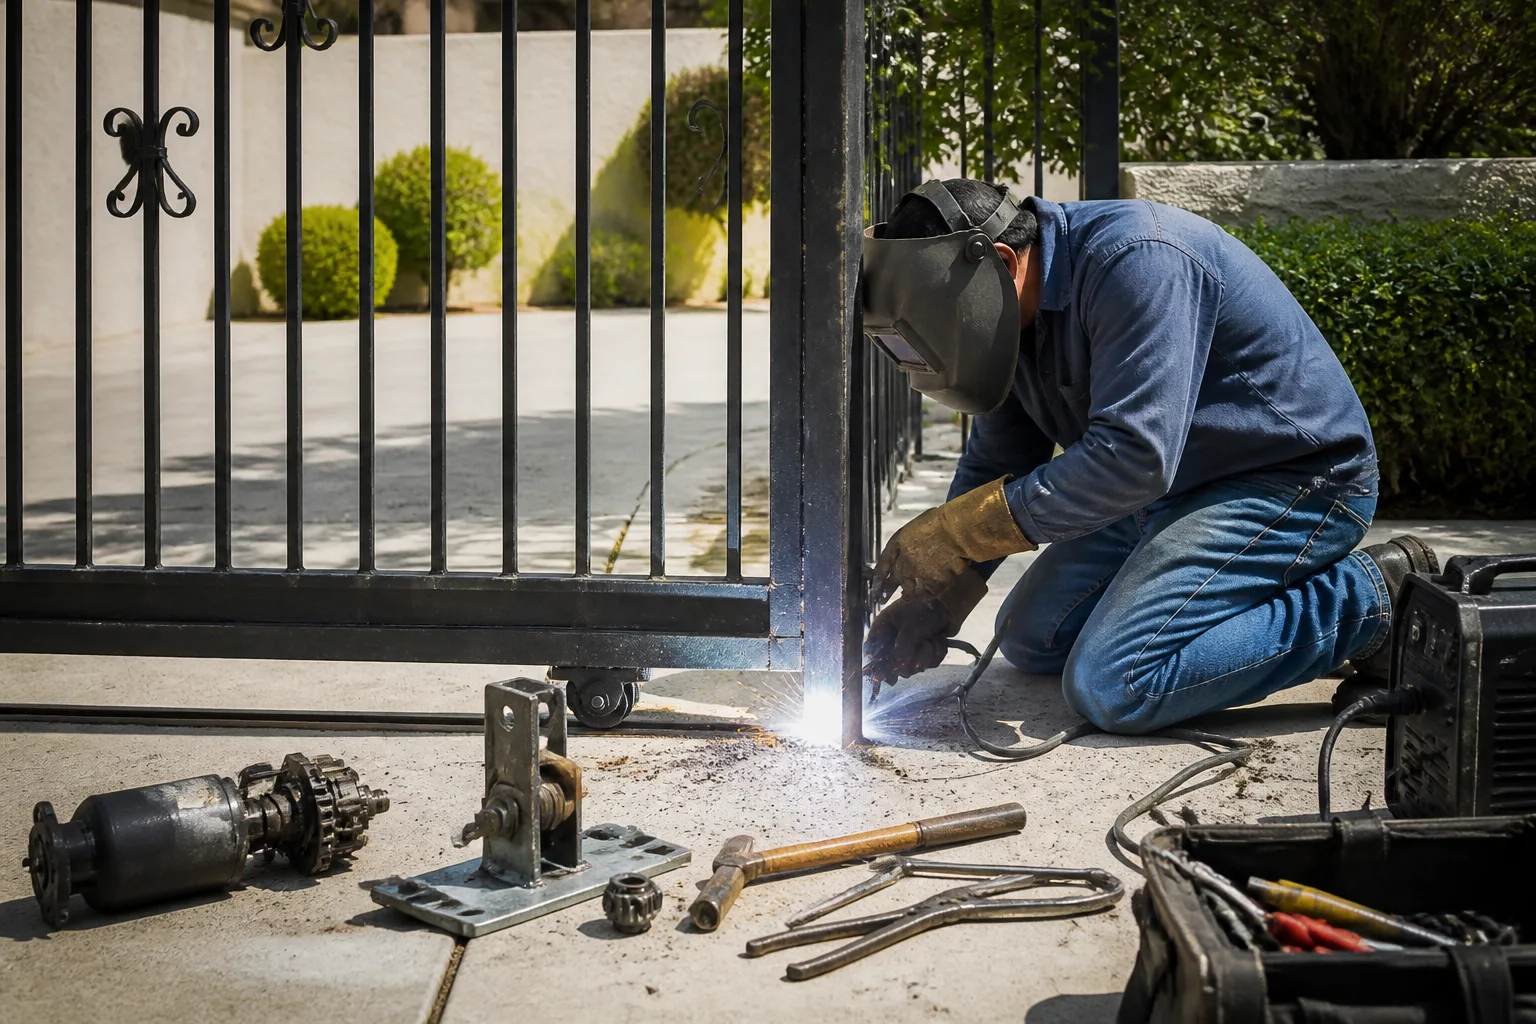
The most expensive gate weld is the one that looks perfect and fails anyway. In 14 years of gate repair across San Jose, we’ve learned that welding mistakes rarely show themselves immediately — they hide in clean-looking beads, mismatched metals, and skipped prep steps, then surface months later when the gate sags, cracks, or seizes. Here are the five errors we see most often, whether from DIY attempts or low-bid contractors who treat gates like fence panels instead of precision machinery.
If you’d rather not gamble with your gate’s structural integrity, Granite Gate Repair California handles welding and parts replacement in-house. Call (888) 416-1369 for a free estimate.
Mistake 1: Welding Over Paint, Rust, or Galvanizing Without Proper Prep
A beautiful bead on a dirty or painted surface is a cold weld waiting to crack. Prep work on gate repairs is where most DIY and low-bid shop repairs fall apart without either party knowing it.
We see this constantly on San Jose properties where someone tried to reattach a broken hinge or repair a cracked frame. The welder lays down what looks like a solid bead, but the arc never actually fused to clean base metal. Paint, mill scale, and galvanizing all act as contaminants. They vaporize under the arc, trap gas in the puddle, and create porosity you can’t see from the surface. Six months of daily cycles — opening, closing, wind load, thermal expansion — and that pretty bead cracks straight down the middle.
The fix isn’t complicated, but it’s tedious, which is why it gets skipped:
- Grind every weld area to bare, shiny metal — not just where the bead goes, but 1–2 inches back
- Remove rust scale completely; wire brushing alone leaves pits full of oxide
- On galvanized steel, grind off the coating entirely or use a filler rod formulated for zinc-coated base metal
- Wipe with acetone or denatured alcohol to remove oils and grinding residue
In our shop, we won’t strike an arc until the metal passes a white-rag test. It’s slower. It costs more than a quick tack-and-go. But we’ve also never had to re-weld our own joints because we did the prep right the first time.
Mistake 2: Using the Wrong Filler Rod or Wire for the Base Metal
Not all steel welds the same, and not all gate components use the same steel. This is where generalist welders — the ones who also do trailer hitches and exhaust pipes — create hidden failures on gate jobs.
Here’s the mismatch we run into around San Jose:
- Mild steel tubing (common in ornamental gates): welds fine with standard ER70S-6 wire or E6013 stick rod
- Cast iron hinges or operators (older gates, especially estate-style installations): requires nickel-based filler or preheat/post-heat protocol; standard steel filler creates brittle, crack-prone joints
- High-strength or alloy steels (commercial slide gates, heavy cantilevers): need matching alloy filler; using mild steel filler undermatches the strength and the weld becomes the weak point
We pulled a repair off a property near Almaden Valley last year where a previous welder had used standard MIG wire on a cast iron hinge bracket. Looked fine. Three months later, the bracket cracked again — not at the old break, but right through the new weld metal, which had gone brittle. We cut it out, preheated the casting, laid in nickel-55 rod, and post-heated slowly. That gate’s still solid.
The wrong filler doesn’t always fail immediately. Sometimes it holds for a season. But thermal cycling, vibration, and load eventually find the mismatch.
Mistake 3: Fixing the Broken Part Without Fixing What Broke It
The hinge snapped. The roller cracked. The bracket tore. Easy — weld on a new one, right?
Except components don’t usually fail in isolation. Something caused that failure, and if you don’t address the cause, you’re just installing the next break.
We see this pattern repeatedly on San Jose gates, especially on hillside properties where soil shifts or on older installations where posts have settled:
- Hinge failure: Often the post has shifted or the gate frame has twisted, putting the hinge in bind. New hinge, same bind, new failure in 8–12 months
- Roller or guide failure: Track misalignment, either from post settlement or impact damage, loads one roller disproportionately
- Latch or stop damage: Gate isn’t closing square; the latch is fighting the misalignment every cycle
Before we weld any replacement part, we check plumb, level, and swing geometry. Sometimes that means resetting a post. Sometimes it means shimming the operator mount. Sometimes it means cutting and re-fabricating a twisted frame section. It’s more work than swapping the broken piece. It’s also the difference between a repair that lasts and a repair that delays the next service call.
Mistake 4: Skipping Post-Weld Stress Relief on High-Cycle Gates
A gate that opens and closes twice daily sees 730 cycles per year. A commercial or multi-tenant gate in San Jose might see 50–100 cycles daily. Every cycle loads and unloads the welds. Every load cycle creates microscopic stress at the weld toe — the transition between weld metal and base metal.
Without proper finishing, that stress concentrates. Over thousands of cycles, it initiates fatigue cracks. The weld doesn’t fail because it was “bad.” It fails because it was left in a state that invited crack propagation.
Post-weld stress relief on gates isn’t about heat-treating the whole assembly (though that’s done on critical structural welds). It’s about:
- Grinding weld toes smooth, blending the transition so there’s no sharp stress riser
- Removing undercut, overlap, and other profile defects that act as crack starters
- For heavy-duty commercial gates, peening or controlled grinding to introduce compressive surface stress
Most gate welding we see in the field looks like it was done with a “good enough” standard. The bead is there. It holds the parts together. But the toes are left sharp, the profile is irregular, and the joint is primed for fatigue. We finish every structural weld with a flap disc and inspection light. It takes extra minutes. It saves years.
Mistake 5: Replacing One Worn Component Without Inspecting the Full System
This applies especially to rolling gates, cantilever gates, and any system with rollers, guides, or track hardware. One failed roller usually means the adjacent ones are within weeks of the same failure.
Here’s why: rollers and guides wear as a set. When one begins to bind or wobble, the others pick up the load. By the time the first one fails visibly, the others have been running overloaded. Their bearings are fatigued, their housings are stressed, and their mounting points may have distorted.
We were called to a commercial property off First Street in San Jose where a single bottom roller had seized. The previous repair replaced just that roller. Three weeks later, the gate jumped track and damaged the motor. When we inspected, the remaining three rollers were all showing brinelling in the bearings, and the track itself had worn a groove from the seized roller dragging. The “cheap” single-roller fix became a motor repair, track section replacement, and full roller set.
Our rule: if one roller or guide has failed from wear (not impact damage), we inspect and typically replace the full set. Same for hinge points on heavy gates, same for wear pads on slide gates. The incremental parts cost is minor compared to a callback or secondary damage.
When to Call a Pro
Some gate welding is straightforward — a quick tack on a garden gate, cosmetic repair to non-structural ornament. But any weld that carries load, cycles daily, or involves cast iron, alloy steel, or galvanized components deserves a specialist. Structural gate welding isn’t the place to learn on the job.
Louis and the Granite Gate team weld, source, and repair in-house. We don’t subcontract fabrication or parts procurement, which means we control quality and timeline. If your gate is showing cracks, sag, or unusual noise at the hinges or track, it’s worth having us look before a small weld becomes a full rebuild.
Related services in San Jose: Gate Repair in San Marcos, Gate Installation in San Marcos, Gate Motor & Opener in San Marcos.
The Bottom Line
The five mistakes above share a common thread: they all produce repairs that look adequate and fail prematurely. Clean prep, matched filler, root-cause diagnosis, finished welds, and system-level inspection — these aren’t flashy. They don’t show up in a photo of the completed job. They’re what separate a gate that runs for years from one that needs attention again next season.
We’ve built our practice on doing it right the first time. Fourteen years exclusively on gates, 197 reviews averaging 4.7 stars, and the ability to service everything from LiftMaster and FAAC to BFT and Linear systems — that’s the track record we stand behind.
If you’re in San Jose and your gate needs welding, parts, or a full diagnostic, Granite Gate Repair California offers free estimates. Call (888) 416-1369 and we’ll get you back in motion.
Frequently Asked Questions
You can weld a gate hinge yourself if you have the right equipment, clean base metal, and matching filler material — but most DIY hinge repairs fail within a year because the root cause (post shift, frame twist, or hinge bind) isn’t addressed. If your gate is heavy, high-cycle, or automated, the weld quality directly affects safety and motor longevity. Call (888) 416-1369 for a free estimate if you’re unsure.
Short-term weld failure almost always traces to one of three issues: welding over paint, rust, or galvanizing without grinding to clean metal; using filler that doesn’t match the base metal (especially common with cast iron); or skipping stress-relief finishing that leaves sharp weld toes vulnerable to fatigue cracking. Thermal expansion from San Jose’s warm days and cool nights accelerates the problem.
Structural welding and component replacement typically runs a fraction of full gate replacement — often 15–30% of the cost of a new installation, depending on how much of the frame and hardware is salvageable. The key is accurate diagnosis: welding a failing frame without addressing alignment or wear patterns wastes money. We provide upfront pricing after inspection. Call (888) 416-1369 for an exact quote — estimates are free.
We carry common wear components and source same-day or next-day for most major brands. Our in-house parts capability covers LiftMaster, FAAC, BFT, Linear, Viking, Ghost Controls, DoorKing, Elite, and Mighty Mule systems. For custom or obsolete hardware, we can often fabricate or adapt in our shop rather than leaving you waiting on a backorder. Call (888) 416-1369 with your brand and model for specifics.
Written by Louis Barrera, Founder & Master Technician at Granite Gate Repair California, serving San Jose since 2012.
Need Gate Repair Help?
Call Granite Gate Repair California — licensed & insured, here with fast after-hours help in California.
(888) 416-1369